Coordinating tent installs across multiple vendors is one of the toughest logistical challenges for large outdoor events. It takes a single, shared timeline, clear communication rules, and precise on-site sequencing to make build day run smoothly. This guide walks planners and site managers through practical steps, building a master vendor timeline, setting communication channels, managing site logistics (power, climate control, flooring), and creating contingency plans that limit interruptions.
We focus on the operational levers, timeline sequencing, vendor handoffs, and infrastructure staging, that reduce friction between tent crews, AV, catering, and décor teams. The payoff is fewer delays, safer installs, and a better experience for guests. You’ll also find templates, recommended arrival windows, communication best practices, and comparison tables you can apply to weddings, corporate events, and large gatherings. Large-scale events quickly reveal why early, detailed logistical planning matters, a point reinforced by studies of mega-event operations.
Essential Steps to Create an Effective Event Vendor Coordination Timeline
An effective vendor coordination timeline lays out milestones, sequences arrivals, and builds in buffer time so tent installs, infrastructure work, and vendor handoffs happen predictably. The practical tool is a single master timeline that links bookings, permits, site surveys, staged deliveries, and teardown to named points of contact. The outcome: less downtime and clear accountability on build day. Start by listing major milestones and dependencies, then assign time blocks and buffers so overlapping workstreams (for example, tent staking and AV rigging) don’t collide. A published timeline becomes the document everyone references to avoid last-minute cascades.
We recommend creating a master timeline and sharing it with all vendors as the single source of truth. Align the schedule with site survey findings and permit windows, and designate a scheduler or site manager to handle day-of adjustments. The timeline also supports contingency planning and quick communication when issues arise. Below is a concise, step-by-step timeline you can implement quickly.
- Define project milestones and deadlines starting at 12 weeks out.
- Lock permits and schedule the site survey at 8–10 weeks out.
- Stagger vendor arrival windows and set buffer times for the week of the event.
- Publish and distribute the master timeline and contact list two weeks before load-in.
- Hold a final pre-event coordination call 48–72 hours before build day.
This checklist gives vendors a clear sequence and highlights which milestones require sign-off. Next, we’ll break down how to plan pre-event milestones so those steps feed cleanly into the master timeline.
Planning Pre-Event Milestones for Tent and Vendor Scheduling
Pre-event milestones turn goals into scheduled tasks so every vendor understands deadlines for permits, deposits, and site prep. Use an 8–12 week countdown that ties each task to a responsible party—site survey, permit submission, structural engineering sign-off for engineered structures, and vendor confirmations. The main advantage is early discovery of constraints (site access windows, ground conditions), which lets you choose the right tent type and anchoring method well before build week. A sample 8–12 week checklist: measurements and site photos at week 12, permit submissions at week 10, vendor confirmations and insurance checks at week 8, and final timeline publication at week 2.
Remember dependencies: power generation and climate control often need longer lead times than décor. Engineered tents may require additional civil approvals. Using this milestone framework aligns procurement and logistics and reduces last-minute scrambling. Next, we explain how to convert these milestones into staggered arrival windows and practical buffer calculations for day-of sequencing.
Scheduling Vendor Arrival and Tent Setup with Buffer Times
Schedule arrivals by task duration and risk to avoid bottlenecks during load-in. Assign realistic setup windows for each vendor—tent crew, AV, caterer, décor—then add buffer time using a percentage of the estimated setup (for example, 25%) or fixed hours for higher-risk tasks. This produces predictable access to staging areas and reduces conflicts over shared equipment like forklifts or generator hookups. The table below shows common setup durations and recommended buffers.
Use these estimates to build a master schedule that staggers arrivals. Also implement an escalation protocol: if the tent crew reports a delay, push non-critical deliveries and notify affected vendors immediately so the timeline remains a living, adaptable document.
How Clear Communication Improves Coordination Between Tent Installers and Event Vendors

Clear communication centralizes decisions and eliminates ambiguity between tent installers and other vendors, enabling teams to anticipate conflicts and coordinate shared resources effectively. Create a documented communications plan that identifies the single source of truth, defines the check-in cadence, and outlines escalation paths. The result: fewer misunderstandings and faster resolution of day-of issues. For example, when the tent lead signals the AV crew that interior rigging is safe, both teams act from the same verified timeline and site map.
Thoughtful communication strategies are crucial for navigating the complexity of multi-vendor setups, particularly when unexpected issues arise.
- Centralize documents: Host a shared cloud timeline and site map as the single source of truth.
- Define cadence: Schedule weekly checkpoints and a 48–72 hour final call before load-in.
- Set escalation paths: Name who can authorize schedule changes and how those changes are communicated.
- Standardize contacts: Publish a vendor contact list with on-site radio and phone protocols.
These practices reduce friction and create reliable handoffs between tent installation, AV, and catering teams. With communication channels in place, the next step is defining specific roles and responsibilities.
Best Practices for Establishing Communication Channels Among Event Teams
Combine asynchronous documentation with scheduled synchronous check-ins to balance clarity and speed. Pick one shared platform for the master timeline, use a group messaging channel for day-of coordination, and hold planned calls at key milestones. This reduces duplication and speeds issue resolution. Typical workflow: weekly status updates, daily check-ins during build week, and continuous radio or group-chat communication on load-in day.
Document practices should include responsibility tags for each line item, version control on the timeline, and a published escalation matrix so vendors know who approves changes. That way, if a vendor reports a late delivery, the site manager can reassign staging and notify affected teams through the agreed channel. Clear channels and a steady cadence keep the schedule on track.
Defining Roles and Responsibilities for Tent and Vendor Collaboration
Assigning roles prevents overlap during complex set-ups. Use a simple matrix that maps tasks to roles like site manager, tent lead, AV lead, and catering manager. A RACI-style document listing day-of tasks, decision authority, and handoff points creates transparent accountability. For example, the tent lead controls staking and anchoring, while the site manager approves vehicle access and staging assignments.
Document handoffs, when the tent lead declares the interior safe for AV rigging or when catering confirms kitchen access, so those trigger points move the timeline forward. Clear roles reduce conflict and speed setup. Once roles are set, optimize the physical flow of people and equipment, which we cover next in logistics.
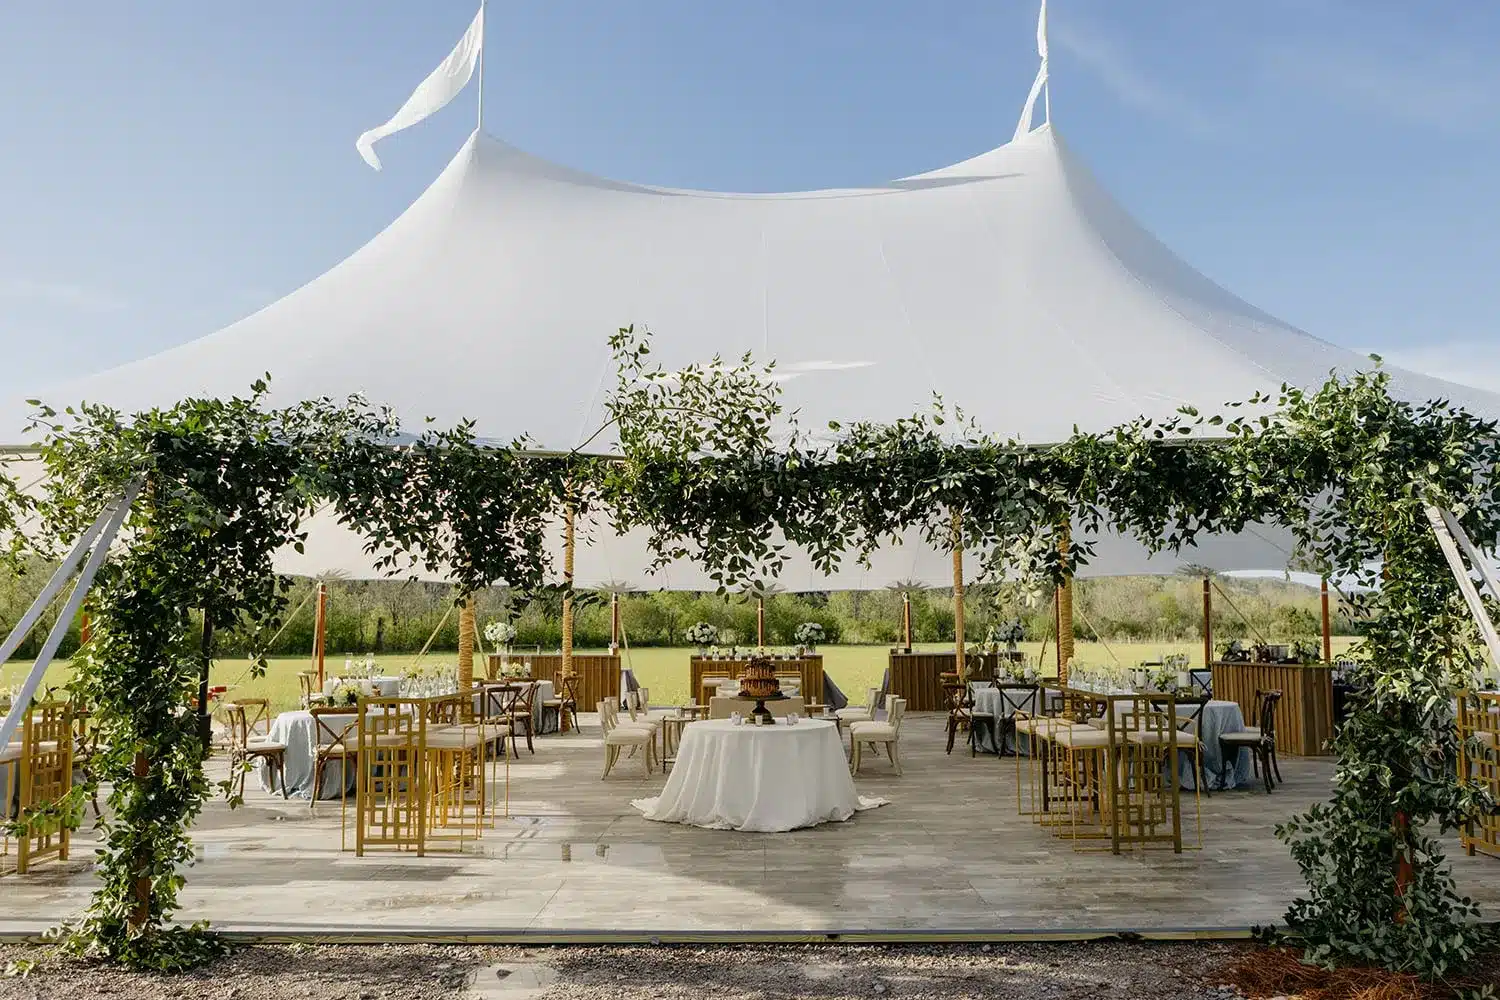
Key Logistics Considerations for Managing Tent Installations with Multiple Vendors

Logistics priorities include optimizing site layout, sequencing utilities like power and climate control, and ensuring safety and regulatory compliance so vendor workflows aren’t impeded. The coordinating tool is a single site plan showing load-in routes, staging areas, generator placement, and guest circulation. The payoff is efficient equipment movement and lower risk during setup and teardown. Addressing logistics early ensures vendors have the access and services they need when they need them.
Key operational questions include site access, staging, and safety protocols. Discuss vehicle sizes, weight limits, and anchor requirements with vendors early. The table below compares logistics needs by service to help match provider requirements to site constraints.
This table shows how service-specific needs shape site layout and lead times. Next, we’ll cover optimizing site flow so vendors and guests can operate without stepping on each other.
Optimizing Site Layout and Flow for Tent and Vendor Access
Balance load-in efficiency with guest experience and emergency egress using a layered site map that shows vendor access over guest circulation. The result is fewer crossing workflows during peak activity. Practical tactics include one-way vehicle corridors, consolidated staging for multiple vendors, and sheltered areas for time-sensitive deliveries.
Locate staging areas close to tent entries to shorten carry distances and keep emergency egress clear at all times. When possible, schedule heavy deliveries outside guest arrival windows and publish a time-buffered plan so vendors avoid using the same route simultaneously. These steps protect the guest experience while keeping vendor operations efficient, which leads into utility coordination.
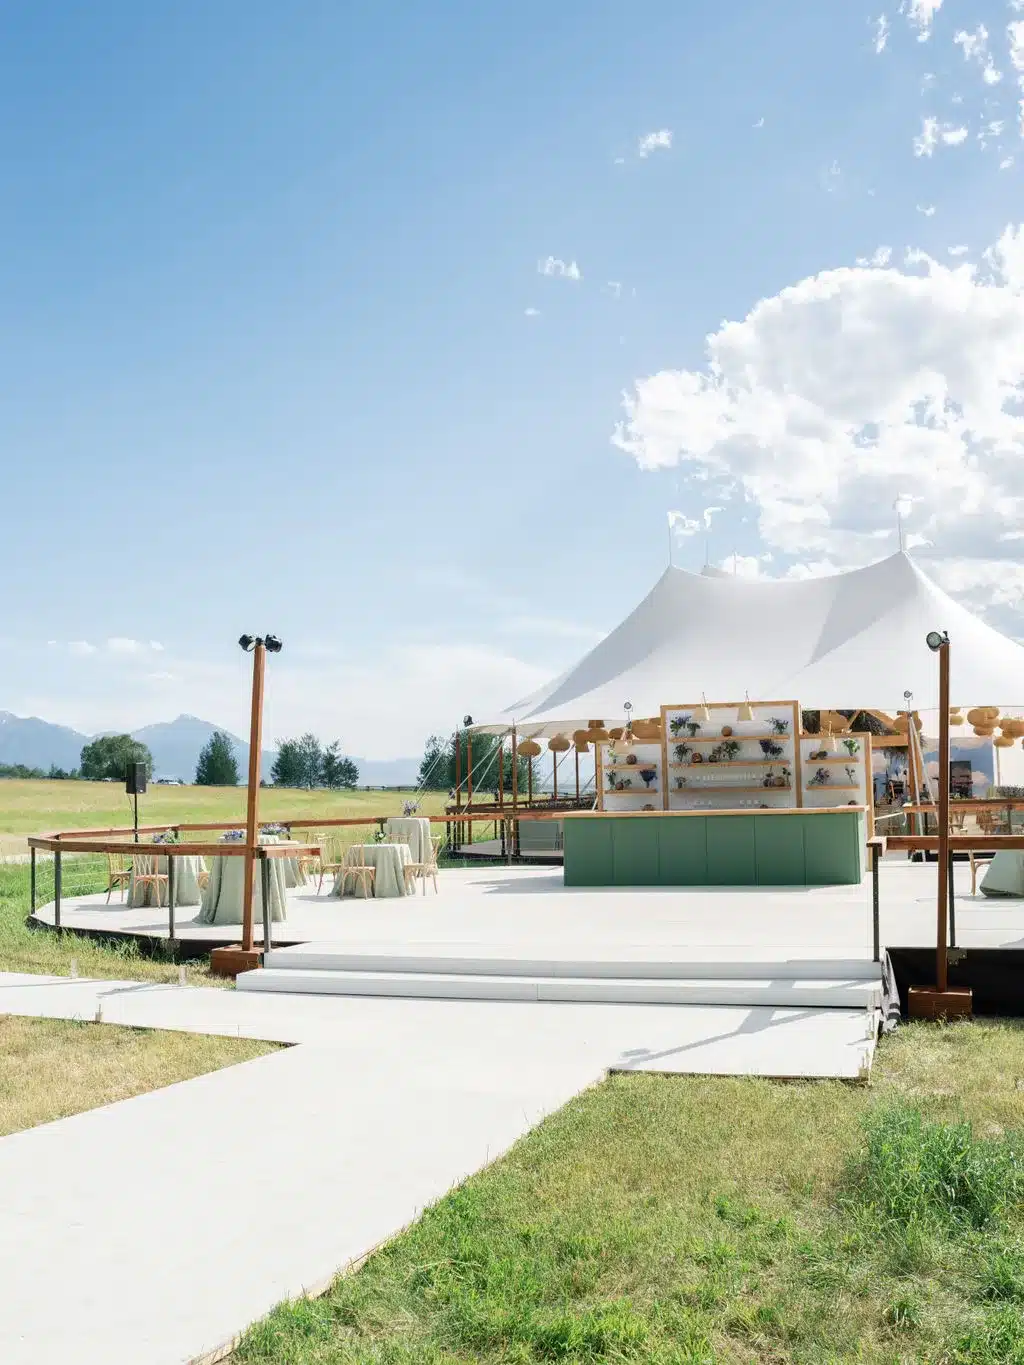
Coordinating Power, Climate Control, and Utilities During Event Setup
Utility coordination starts with early load calculations, staged generator deployment, and aligning climate control timing with vendor needs so critical systems are live when required. Tie a utility schedule into the master timeline to mark when generators must go live, when HVAC units should be staged, and when AV load testing can begin. The benefit is avoiding last-minute reallocations that trigger cascading delays. Note: generators and HVAC units often require overnight staging and safety checks before sensitive gear is brought in.
Coordinate power planning with AV and catering, provide a labeled single-line utility diagram to vendors, and run a pre-event power test to validate distribution. Appointing a utility coordinator reduces overload or connection problems. With logistics and utilities sorted, choosing the right tent partner can further simplify coordination.
Why Choosing the Right Tent Rental Partner Matters for Vendor Coordination
A tent partner that offers project management and integrated infrastructure reduces cross-vendor friction by centralizing responsibility for power, climate control, and flooring. Consolidating services under one provider lowers the number of handoffs and creates clearer accountability, which speeds issue resolution and improves schedule adherence. Full-service partners anticipate common conflicts and propose integrated solutions that simplify site logistics for planners.
The short comparison below shows how full-service providers differ from limited providers in scope and coordination role.
Experienced, full-service partners cut through coordination complexity and reduce the number of moving parts planners must manage. The next section describes how one such provider applies project management to improve vendor collaboration.
How Skyline Tent Company’s Project Management Improves Vendor Collaboration
Skyline Tent Company provides dedicated project management and event consulting to align timelines, infrastructure, and vendor sequencing into a single plan. Acting as a single point of contact, Skyline coordinates power generation, climate control, custom flooring, and elevated platforms so other vendors can work without negotiating multiple providers. The benefit to planners is simplified logistics: one schedule, one set of infrastructure handoffs, and proactive contingencies to keep builds on time.
For clients who need coordinated execution, Skyline’s project-management approach consolidates responsibilities and reduces the need to manage subcontractors. Event teams gain a centralized planner who updates the master timeline, confirms vendor windows, and oversees day-of sequencing—helping ensure smoother load-in and fewer surprises. To request a consultation or quote for project-management support, contact Skyline Tent Company to discuss event scope and tailored services for weddings, corporate events, or large gatherings.
Benefits of Full-Service Tent Providers for Complex Events
Full-service tent providers offer single-vendor accountability, integrated infrastructure provisioning, and a faster path to resolving on-site issues—reducing coordination overhead for planners. Integration means combining tents with power generation, climate control, glass walls, and flooring into one managed package. The result: faster setup, simpler billing, and more consistent safety compliance. Concrete benefits include fewer change orders, consolidated insurance and permit work, and quicker responses to site challenges.
This model improves quality and timing because the provider understands how systems interact—how HVAC placement affects sightlines or how power staging impacts AV rigging—and plans accordingly. For engineered-structure tents or multi-tent layouts, a full-service partner streamlines communication and brings technical expertise that lowers day-of risk. Clear provider accountability also makes troubleshooting and post-event evaluation straightforward.
Best Practices for Post-Event Evaluation to Improve Future Vendor Coordination

Post-event evaluation turns metrics and vendor feedback into concrete process improvements for future events. Run a structured debrief—an immediate on-site wrap-up plus a 30-day follow-up—that collects input from tent crews, AV, catering, and the site manager. The outcome should be a list of action items and timeline updates. Over time, this process raises planning quality and reduces repeat issues.
Best practices include standardized debrief templates, named owners for action items, and a KPI dashboard to track trends across events. The short list below outlines core steps for an effective debrief.
- Conduct an immediate on-site debrief with the site manager and vendor leads to document incidents and wins.
- Distribute a standardized survey to all vendors within 7 days to gather structured feedback.
- Hold a 30-day review to confirm action-item completion and update templates and timelines.
These steps create a feedback loop that strengthens vendor collaboration and on-site execution. The next section shows a simple debrief format you can use right away.
Frequently Asked Questions
What are the common challenges faced during tent installations with multiple vendors?
Common issues include scheduling collisions, unclear responsibilities, and logistical bottlenecks. Overlapping arrivals can delay setup, and weather or equipment failures can disrupt plans. The best defenses are a clear communications plan, defined roles, and a published master timeline that everyone uses as the single reference point. Those steps reduce confusion and keep the day on track.
How can technology assist in coordinating tent installations with vendors?
Technology keeps information shared and current. Use shared calendars, cloud-based timelines, and project-management tools so all vendors see the same plan. Group messaging apps speed day-of coordination and let teams share updates and photos in real time. The right tools reduce misunderstandings and keep decisions documented.
What role does risk management play in vendor coordination for events?
Risk management prepares teams for disruptions that could derail the event. By identifying likely risks—weather, late deliveries, power issues—and creating clear contingency steps, planners ensure consistent responses. A well-structured risk plan keeps vendors aligned and minimizes safety and scheduling impacts.
How can post-event evaluations improve future vendor coordination?
Post-event reviews capture what went well and what didn’t. Collect vendor feedback and performance data, then translate that into action items and updated templates. A structured debrief ensures lessons learned are applied, improving timelines, vendor selection, and on-site workflows for the next event.
What are the benefits of having a single point of contact for vendor coordination?
A single point of contact streamlines communication and decision-making. That person oversees logistics, approves changes, and acts as the escalation path for issues. Centralizing contact reduces mixed messages and speeds resolutions, keeping the entire crew coordinated and accountable.
How can event planners ensure safety during multi-vendor installations?
Ensure safety by conducting thorough site assessments, setting clear access routes, and enforcing vendor safety protocols. Regular safety briefings and a designated safety officer on-site improve compliance. Document hazards, control access, and keep emergency egress routes clear at all times.
Conclusion