
Setting up a wedding tent is often more complex than it seems—especially when unexpected hiccups arise. Even the most meticulously planned events can face setup challenges, from sudden weather shifts and uneven terrain to last-minute vendor delays and equipment malfunctions. These issues not only disrupt timelines but can also impact guest comfort and overall event flow. This guide dives into the most common tent setup obstacles faced by planners and rental teams, offering expert-backed solutions to help ensure a smooth, secure, and stress-free start to your celebration—rain or shine.
Key Takeaways
- Weather can significantly affect wedding tent setups; be prepared with appropriate materials.
- Coordination with vendors is key; implement structured communication strategies.
- Regular equipment checks reduce unexpected issues during setups.
- Immediate takedown schedules can streamline post-event processes.
Weather-Related Hiccups: Planning for the Unpredictable
Even the most carefully coordinated wedding plans can unravel when faced with unexpected weather. Whether it’s gusty winds threatening the tent’s stability, a sudden downpour pooling around the perimeter, or unseasonal temperature spikes, weather conditions can significantly complicate the tent setup process. These issues can delay timelines, damage equipment, or compromise guest comfort without proper preparation. Anticipating environmental variables and integrating resilient setup solutions ensures your tented celebration remains safe and seamless—no matter what the skies bring.
Wind-Rated Tents and Anchoring Techniques
Strong winds are one of the most common threats to tent safety and stability. Standard staking systems may not be sufficient for open fields, coastal areas, or elevated terrains. Instead, opt for wind-rated tents that are engineered to withstand high gusts, and reinforce the structure using heavy-duty anchors such as screw stakes, water ballasts, or concrete blocks depending on the surface type. Guy lines and ratchet straps should also be tightly secured and regularly checked throughout the day. Early consultation with your rental provider about wind load ratings and anchor types ensures a secure installation.
Waterproof Materials and Drainage Strategies
Rain doesn’t just dampen the mood—it can compromise structural integrity if water pools on the tent roof or floods the ground underneath. Choose tents made with high-denier, waterproof fabric and sealed seams to prevent leakage. Additionally, inspect the event site for natural water flow and drainage risks. Installing elevated flooring, creating gentle ground slopes away from the tent’s edges, or digging shallow trenches around the perimeter can help redirect water. Consider adding rain gutters between connected tent sections or entryway awnings for high-risk locations to protect guest areas.
Sidewalls, Heaters, and Fans for Comfort Control
Sudden shifts in temperature—such as early spring cold snaps or sweltering midsummer heat—can affect both setup crew efficiency and guest experience. For colder weather, install sidewalls with zippered entries and add portable tent heaters that distribute warmth evenly without creating condensation.
In warmer conditions, prioritize tents with ventilated peaks and integrate industrial-grade fans or evaporative coolers to maintain airflow. Fabric liners or insulation panels can also help regulate internal temperatures, ensuring that the tent remains a comfortable and functional space throughout setup and the event itself.
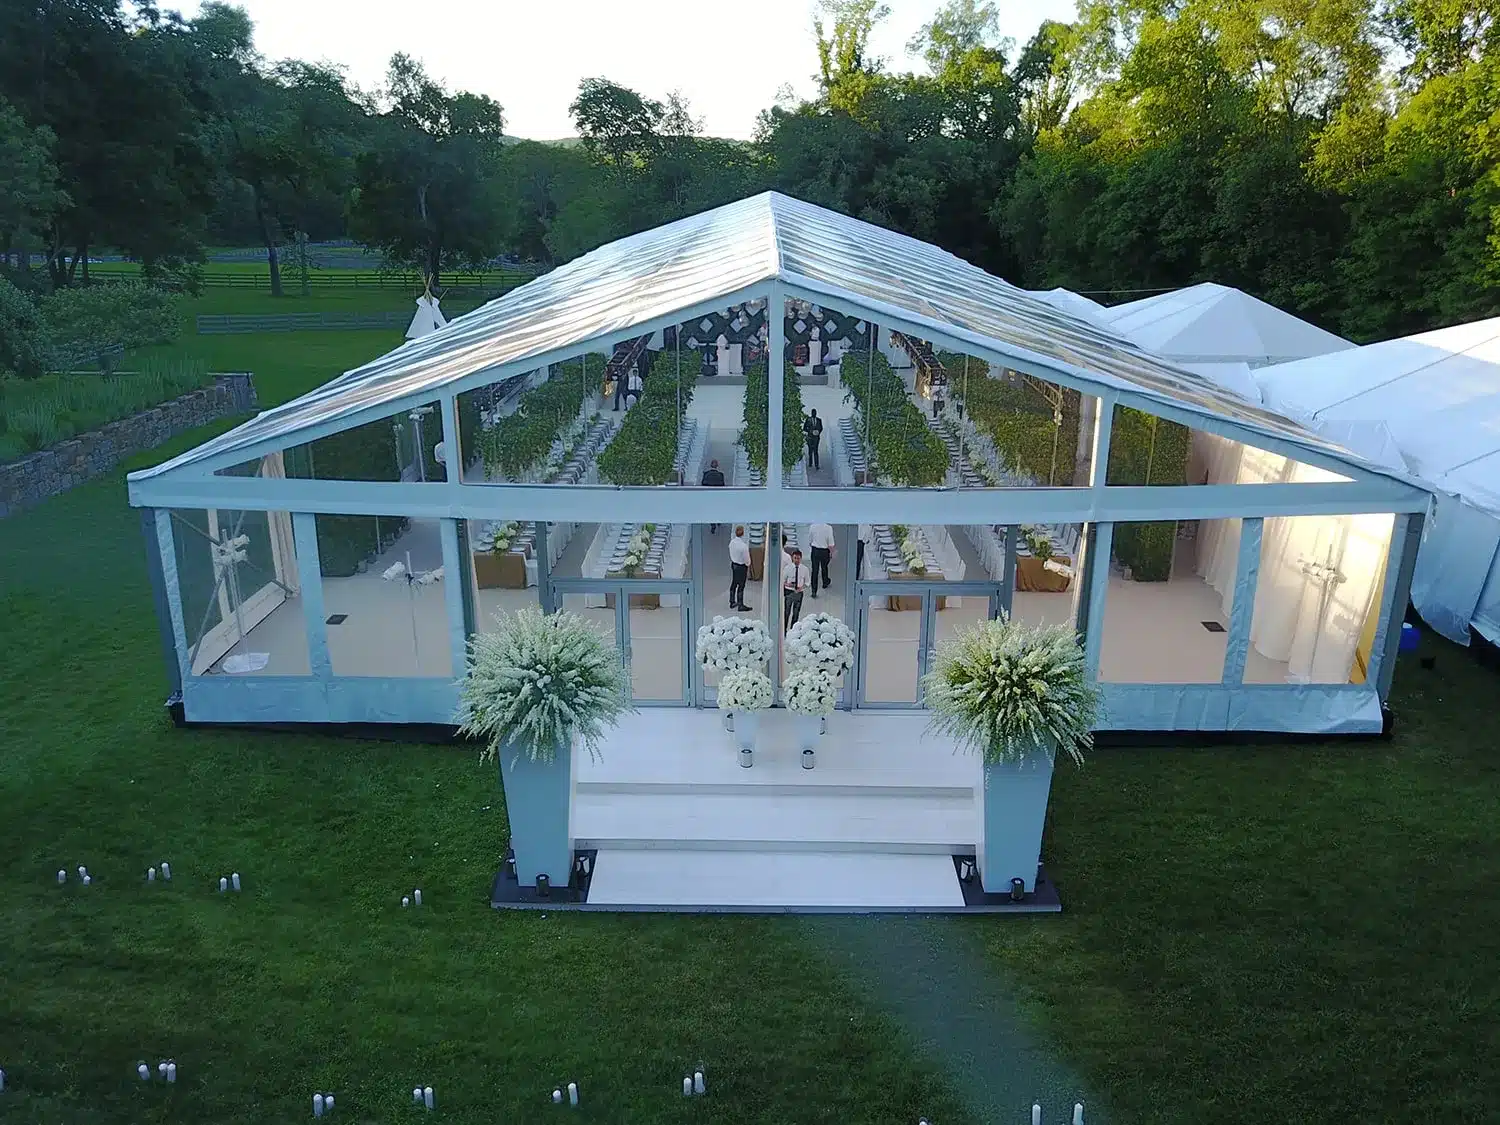
Terrain Troubles: Dealing with Uneven or Soft Ground

Not all wedding venues offer a perfectly level, firm surface for tent installations. Sloped backyards, muddy fields, or sandy beaches can introduce many complications that delay setup and compromise tent safety. Uneven or unstable terrain can prevent proper anchoring, cause water to pool underfoot, and create trip hazards for guests. Addressing these site-specific challenges early with the right preparation and equipment ensures that your tent remains structurally sound and visually flawless, no matter the landscape.
Site Assessments and Pre-Event Walkthroughs
A proper site visit is essential before confirming any tent rental or layout. During the walkthrough, evaluate the slope of the land, identify low-lying areas prone to flooding, and locate obstacles such as tree roots, sprinkler heads, or buried utility lines. Mark these hazards in advance and communicate them clearly to the tent crew. Site assessments should also consider access points for delivery trucks and installation teams, which are especially important for remote or uneven locations where maneuverability may be limited.
Temporary Flooring, Risers, or Sub-Flooring
Installing a stable foundation is key for sloped or soft ground. Interlocking flooring panels, plywood decking, or high-end sub-flooring systems can provide a level base while protecting against ground moisture. Modular risers can be custom-built in more pronounced elevation changes to create flat seating, staging, or dance floor surfaces. These solutions stabilize the tent structure and enhance guests’ safety and comfort by eliminating uneven walkways or soft spots that can lead to missteps.
Grading or Ground Prep Before Installation
In more extreme cases, minor landscaping or ground grading may be necessary. Removing bumps, leveling dips, or compacting the soil can prevent anchoring issues and minimize long-term damage to the tent structure. Placing gravel or sand as a base layer may improve stability if the ground is exceptionally soft or prone to shifting. While this may add time and budget to the preparation phase, investing in ground prep can prevent more costly issues on the event day.
Coordination Challenges: Keeping Vendors and Timelines Aligned

One of the most overlooked but critical components of a successful wedding tent setup is smooth vendor coordination. From caterers and florists to lighting crews and furniture rental companies, each vendor has specific setup needs that often intersect within the same time window. Miscommunication, overlapping schedules, or a lack of site supervision can result in costly delays, misplaced equipment, or setup conflicts. Establishing a unified communication plan and clear timelines ensures every moving part aligns for a seamless installation day.
Use Shared Setup Timelines and Logistics Maps
A comprehensive setup timeline—shared with all vendors—is the backbone of an organized event. Break the timeline into setup phases (e.g., tent installation, flooring, lighting, décor) and assign precise time slots for each team. In addition, create a logistics map that outlines designated delivery zones, equipment staging areas, power drop locations, and walkways. This map helps vendors avoid congestion and prevents last-minute scrambles over space and access points. Sharing these documents in advance eliminates guesswork and keeps everyone on the same page.
Assign a Central Coordinator or Point of Contact
When multiple teams operate independently, the risk of missteps increases. Assigning a central event coordinator—or a designated point of contact for the tent installation process—can streamline decision-making and prevent conflicting directives. This person should be on-site during setup, able to answer questions, solve problems in real time, and ensure that all parties follow the master plan. Whether it’s the wedding planner or a lead tent crew supervisor, having one authority figure reduces confusion and maintains order throughout the setup window.
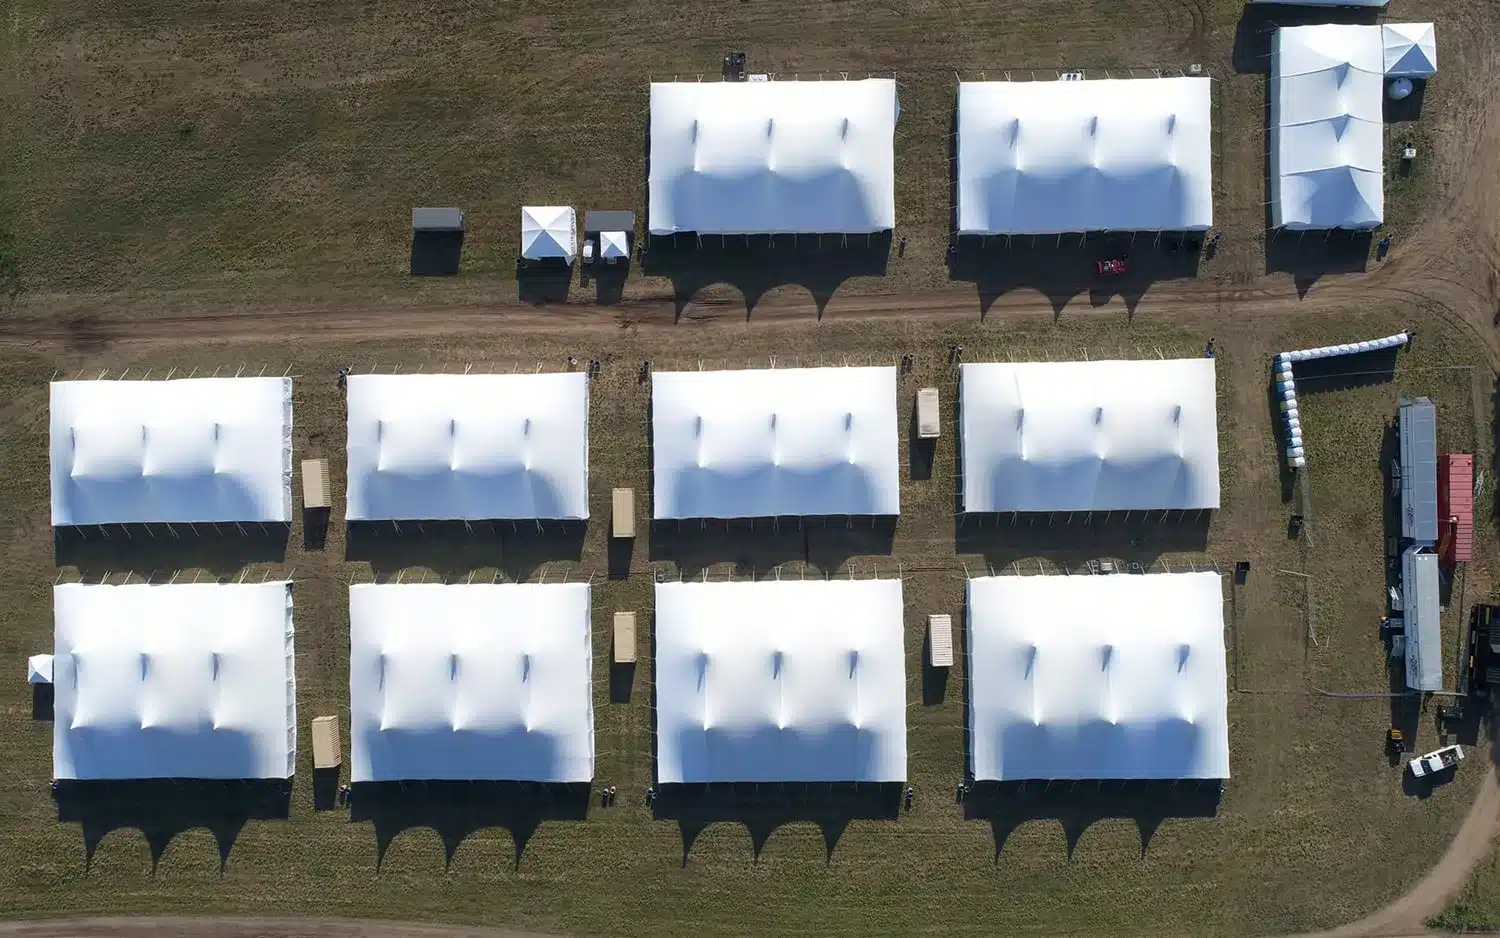
Structural and Equipment Failures
Even the most stunning tent design can fail if the underlying structure or equipment is compromised. Missing parts, damaged materials, or aging inventory can create major delays—or worse, safety hazards—on the day of the event. These issues are often preventable with proper planning and routine inspections. Addressing structural reliability upfront ensures your tent looks impressive and performs safely and consistently from setup through teardown.
Perform Pre-Delivery Equipment Inspections
Before any equipment reaches the venue, the rental company should conduct thorough quality checks. This includes inspecting tent fabrics for tears, checking frame joints for warping or rust, testing ratchets and ropes for durability, and ensuring all hardware is accounted for. Event planners can request inspection records or even attend a pre-event warehouse walkthrough. This step reduces the risk of last-minute surprises that could halt setup or require on-site emergency repairs.
Keep Emergency Supplies and Backups on Site
Even with the best preparation, unexpected equipment issues can arise. Having extra parts such as poles, stakes, connectors, and patch kits on-site can save time if something fails during setup. For larger events, it’s wise to keep a few replacement panels or sections of tent fabric available in case of damage. Partnering with a rental provider offering emergency support or a technician on call during installation hours ensures you’re not left scrambling when time is critical.
Work with Reliable Rental Companies with On-Call Support
Not all tent vendors maintain their inventory to the same standards. Choose a rental company with a proven track record of reliability, professional setup teams, and responsive customer service. Read recent reviews, ask for case studies or event references, and confirm whether the company provides on-site supervision or standby crews. A reputable partner can anticipate potential structural issues before they escalate—and respond quickly if something goes wrong during the setup window.
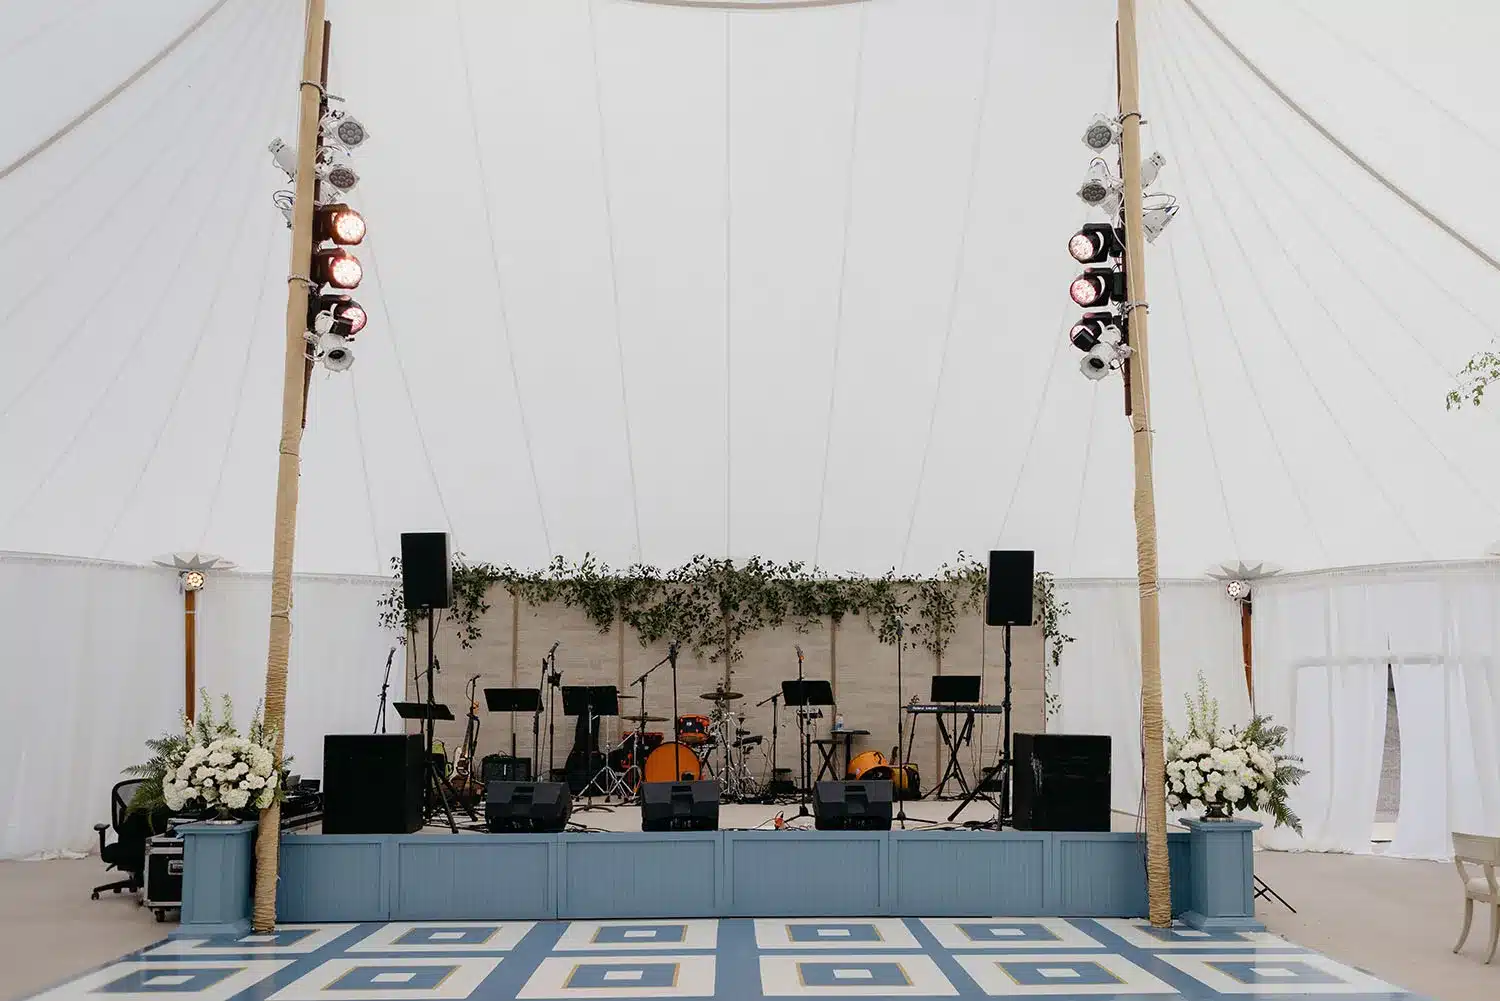
Power and Lighting Setup Delays

While tents create a stunning outdoor ambiance, they also require reliable lighting and power infrastructure to function as full-service event spaces. Overlooking electrical needs—or underestimating power demands—can cause frustrating delays, especially if lighting installers or AV teams arrive to find inadequate hookups or missing components. Early planning, clear load calculations, and experienced installers are essential to ensuring your tent is functional and beautifully lit when guests arrive.
Map Out Lighting and Power Needs in Advance
Start by identifying every item requiring power—lighting rigs, catering equipment, sound systems, fans, heaters, and restrooms. Then, determine the total power load and ensure the venue has enough capacity. For off-grid or rural locations, renting generators becomes essential. Create a power map that designates outlet locations, generator placement, and cable routes to prevent tripping hazards. Sharing this map with lighting and AV vendors in advance helps avoid last-minute rewiring or overloading circuits.
Partner with Certified Electricians When Necessary
Hiring a licensed electrician is a smart move if your event includes high-powered equipment or specialty lighting setups. They can handle safe wiring, distribution panels, and weatherproofing for outdoor conditions. An electrician can inspect generators, install temporary circuits, and confirm grounding protocols for larger or more complex events to reduce the risk of outages or equipment damage. Don’t rely on venue staff or rental crews for this setup level unless they are specifically trained and certified.
Use Solar Backups or Battery-Powered LED Lighting
Battery-operated or solar-powered lights offer a flexible backup for smaller weddings or areas of the tent where traditional wiring may be inconvenient. These portable lighting options work well for accent areas like pathways, lounge zones, or catering prep spaces. They can also serve as an emergency solution in case of power disruptions. Modern LED fixtures are efficient, bright, and often dimmable, making them a versatile tool in your lighting toolkit that doesn’t require a full electrical layout.
Smooth Takedown: Post-Event Efficiency Without the Stress
While most planning energy goes into the setup, the takedown process deserves just as much attention—especially when tight venue deadlines or next-day bookings are involved. Poorly managed tent breakdowns can result in damaged equipment, venue penalties, and strained vendor relationships. A coordinated, well-timed takedown protects your investment and ensures that every piece of equipment is accounted for and returned in top condition. Efficiency here starts long before the final guest leaves.
Pre-Schedule Takedown Crews and Timing
Don’t wait until the event ends to coordinate takedown logistics. Finalize crew availability, transportation details, and storage locations during the initial planning phase. If the venue has strict departure windows, make sure crews are scheduled to begin immediately after the event concludes—or early the following morning. Ensure that tasks are broken down by team (e.g., tent crew, lighting team, flooring removal) so that takedown moves smoothly without overlapping or confusion.
Provide Clear Disassembly Protocols
Much like setup, disassembly requires a step-by-step approach to avoid unnecessary wear or damage. Share takedown guidelines with all involved vendors and designate team leads to oversee the process. Start by powering down and safely packing AV equipment and lighting. Next, remove sidewalls and accessories before disassembling the main tent structure. Labeling storage bags, hardware bins, and fabric panels during setup also speeds up re-packing and reduces post-event inventory confusion.
Weatherproof Storage and Transport Plans
Takedown often happens late at night or early morning—when dew, fog, or even overnight rain can create wet conditions. Ensure tarps, drying cloths, and sealed storage containers are available to protect tent fabrics, cords, and metal components. If items must be stored temporarily onsite, choose a dry, secure area away from mud or runoff. Proper storage during breakdown not only preserves the lifespan of your materials but also avoids time-consuming cleanups for the next event.
Frequently Asked Questions
What’s the best way to prepare for unexpected weather during tent setup?
Start by selecting weather-rated tents with waterproof materials and strong anchoring systems. Conduct a site visit to assess wind exposure, ground conditions, and drainage. Always have backup components on-site (like sidewalls or tent weights), and use a real-time weather app to monitor changes during setup. For high-risk forecasts, create a contingency plan that may include adjusting the layout or installation timing.
Can soft or uneven ground delay tent installations?
Yes. Unstable or sloped terrain can slow anchoring, flooring, and structural assembly down. To avoid delays, assess the ground in advance and consider temporary flooring or site grading. If necessary, add sub-flooring or compacted gravel to create a solid base. These steps prevent tent movement, uneven walkways, and water collection underfoot.
How do I prevent miscommunication between vendors during tent setup?
Use a shared digital timeline and site logistics map to coordinate vendor arrivals and responsibilities. Assign a central event coordinator who can communicate real-time updates and keep the installation sequence on track. Group messaging apps or project platforms like Google Drive or Trello can streamline updates, document sharing, and quick check-ins.
What if a critical tent component is missing or damaged on-site?
This is why working with a reliable rental company matters. Choose a provider that performs equipment checks before delivery and offers on-call support or extra inventory. Having basic repair tools, extra stakes, or fabric patches on hand can save the day if a part fails or gets damaged during setup.
How can I ensure that lighting and power are ready on time?
Begin by mapping out all power needs—lighting, sound, catering, and climate control—and verifying that the venue’s electrical infrastructure can support it. Share that plan with your electrician or AV vendor well before the event. For remote setups, rent properly rated generators and prepare for unexpected needs with portable lighting or battery-powered backups.
Conclusion
Tent weddings offer a beautiful blend of elegance and outdoor charm, but they also come with unique logistical challenges that require expert foresight. The potential for hiccups is real, from unpredictable weather and uneven ground to vendor misalignment and equipment failures. Yet with careful planning, proactive communication, and the right team by your side, these setbacks can be minimized—or avoided entirely.
The key to a smooth setup lies in preparation: conduct thorough site assessments, coordinate schedules with precision, use weather-ready materials, and always have backup plans in place. Whether you’re managing a DIY backyard setup or working with a professional rental company, these steps ensure that your wedding tent installation is safe, efficient, and ready to host unforgettable moments.