
Century Pole Tents are a go-to solution for upscale outdoor events, blending style, flexibility, and durability. These elegant tent rentals are defined by their sweeping peaks, central poles, and wide-open interiors—ideal for weddings, galas, or formal receptions. Their clear layout allows event teams to add tent accessories like lighting, chandeliers, flooring, or climate control, creating a fully customized guest experience. Proper site preparation is key to a secure install, especially when managing weather or uneven terrain. A successful Century Pole Tent setup also involves attention to tent safety, stability, and structural alignment. With experienced support from Skyline Tent Company, clients can trust every detail—from layout to anchoring—is handled with care and precision.
Key Takeaways
- Century Pole Tents feature tall center poles and open layouts, perfect for upscale gatherings.
- They support premium add-ons like flooring, lighting, and sidewalls to enhance guest comfort.
- Site prep, careful measurements, and expert coordination ensure a smooth, stable installation.
- Challenges like uneven terrain and unpredictable weather can be managed with the right tools.
- Skyline Tent Company offers professional installation and takedown services for seamless execution.
What Are Century Pole Tents and Why Choose Them?
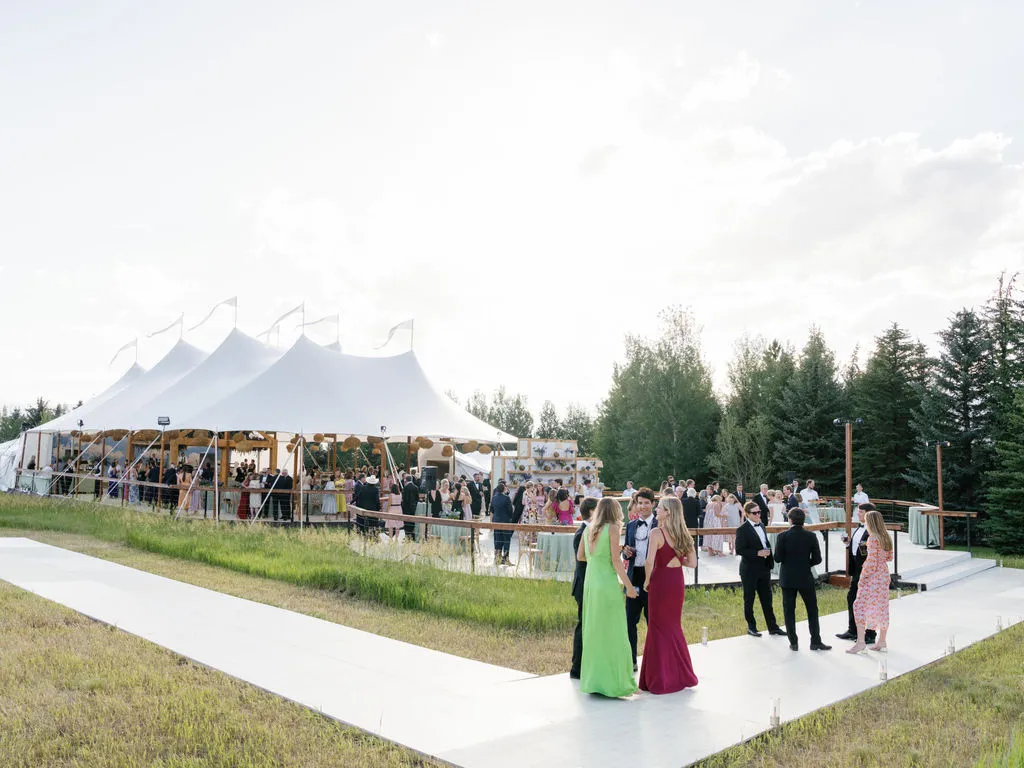
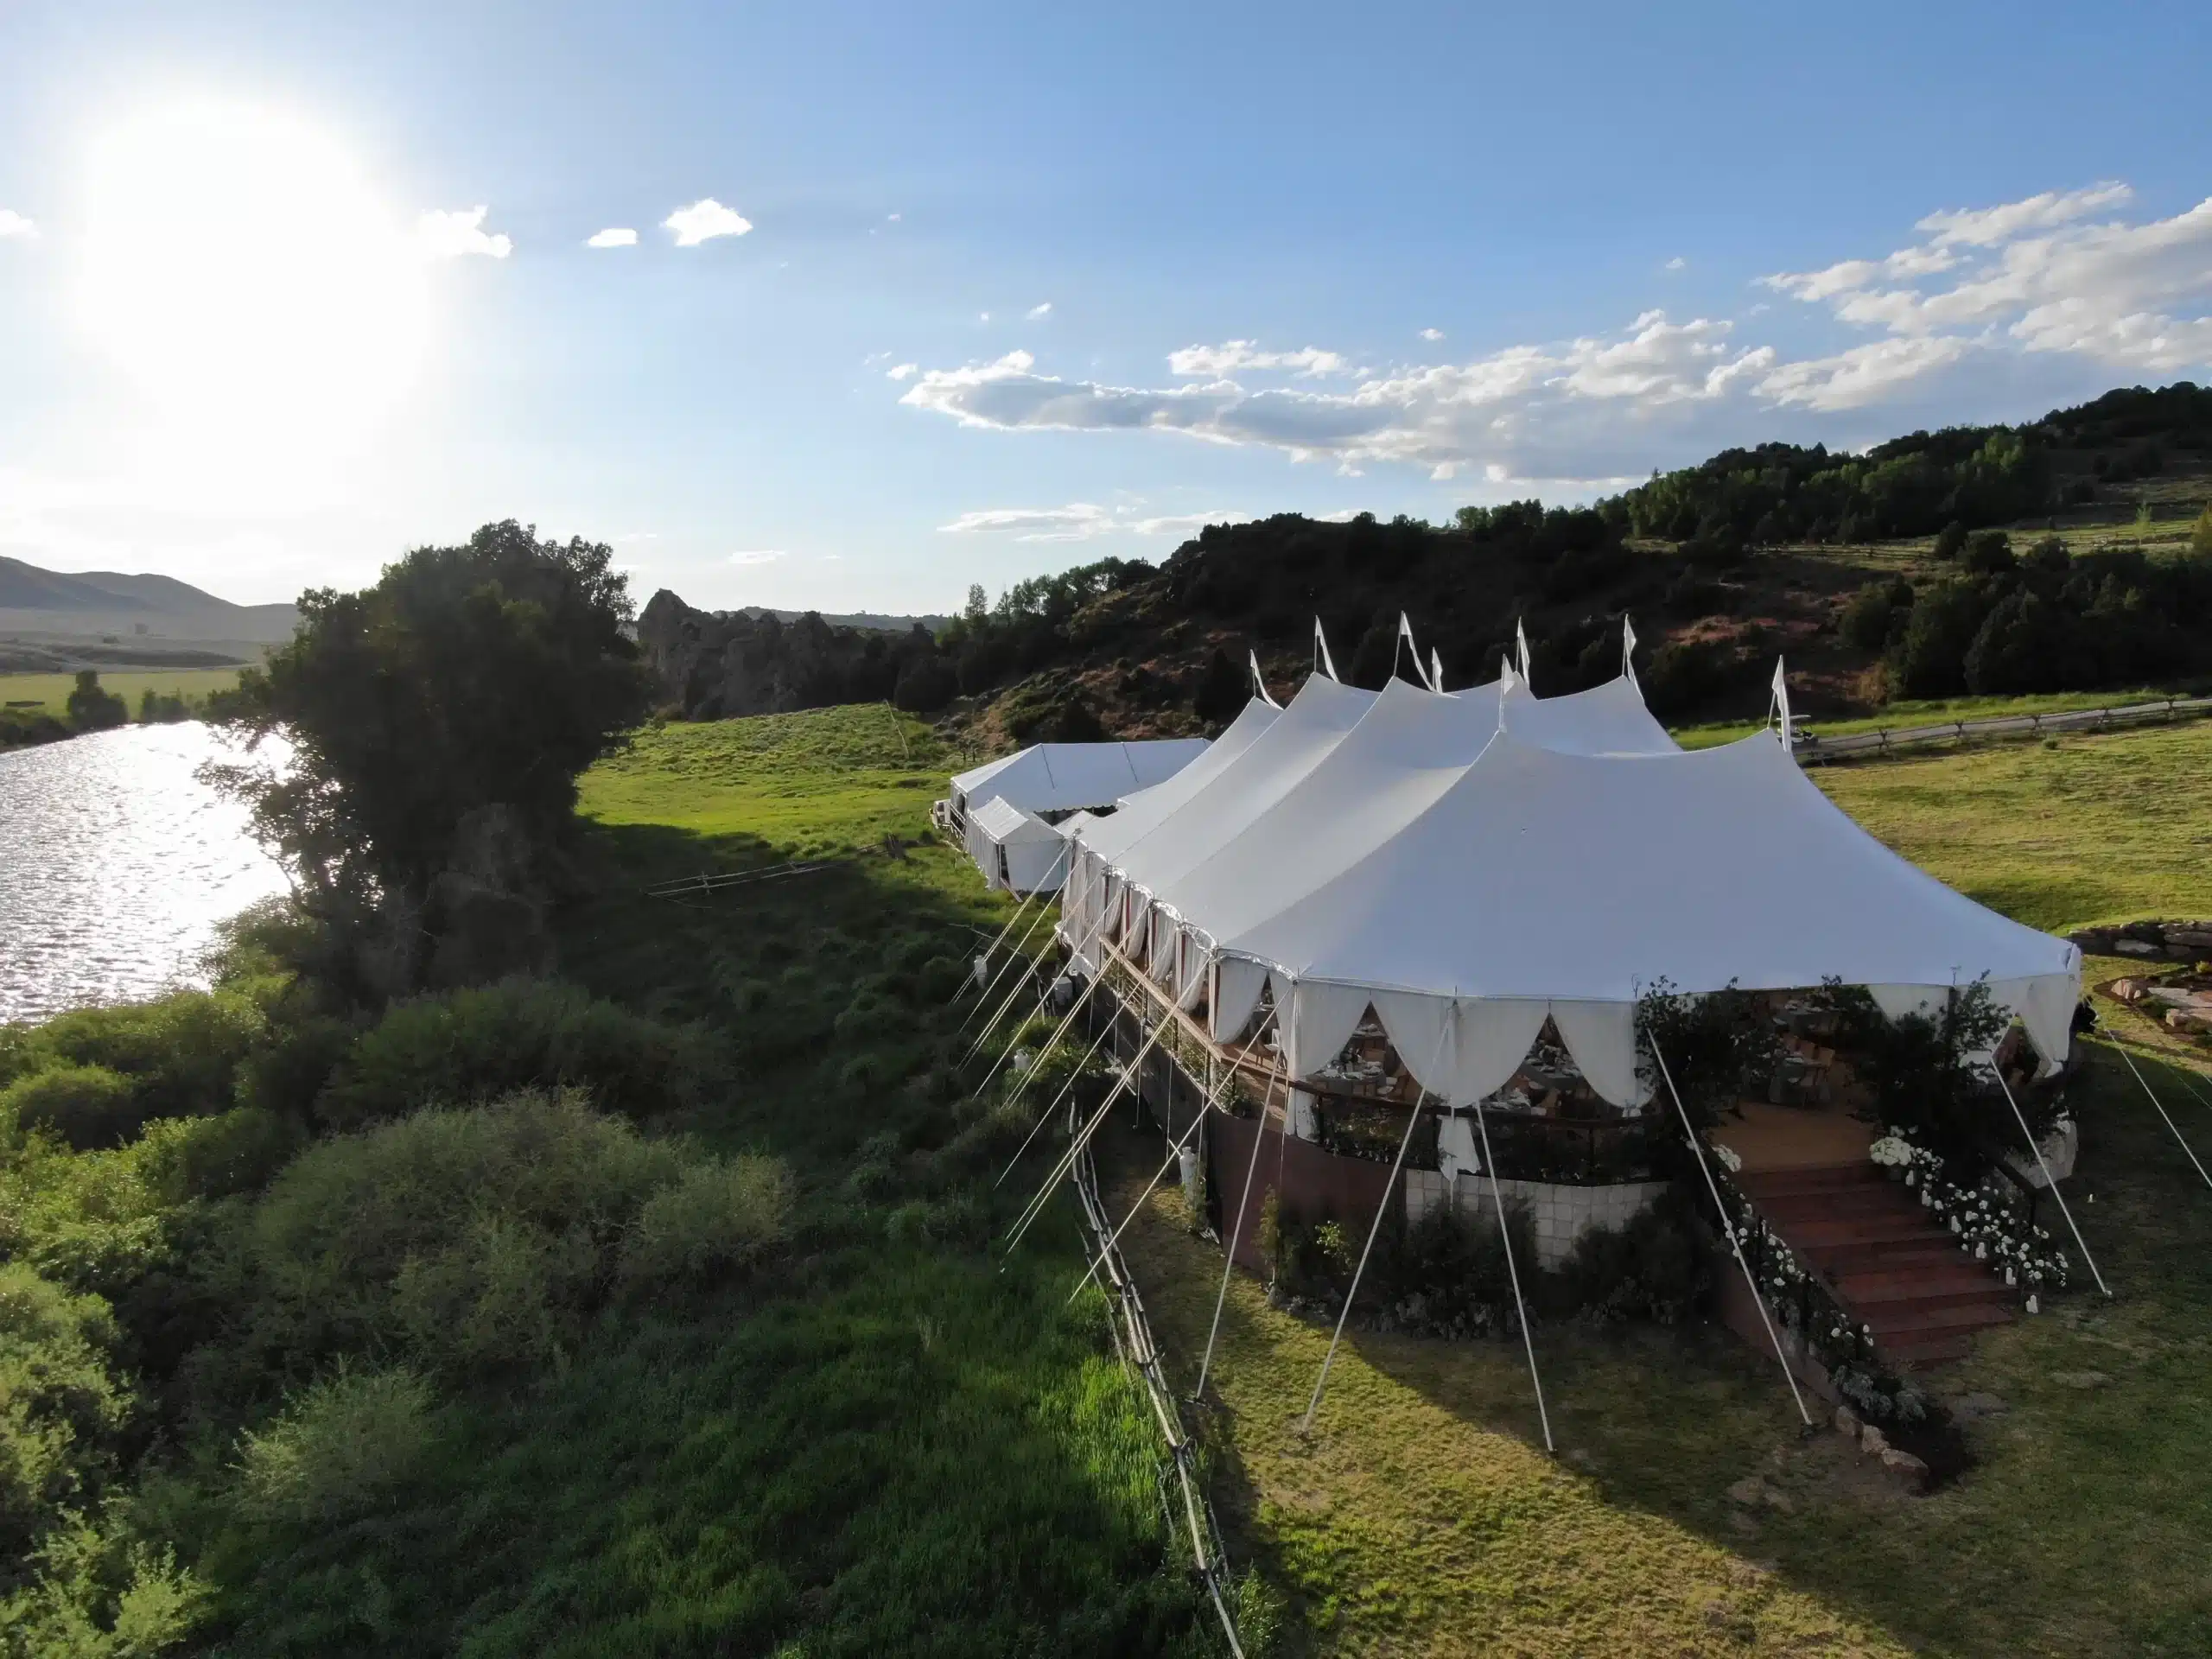
Century pole tents are high-end event tents supported by a central pole that creates an open, airy interior. Their curved peaks and sweeping lines add elegance to formal events, including weddings and galas. These tents work well for both daytime and evening gatherings with the right lighting. Their flexibility in layout allows for stages, lounge setups, or banquet arrangements. With a clean look and minimal internal obstruction, they bring refinement to any event setting.
Ideal for Elegant, Large-Scale Gatherings
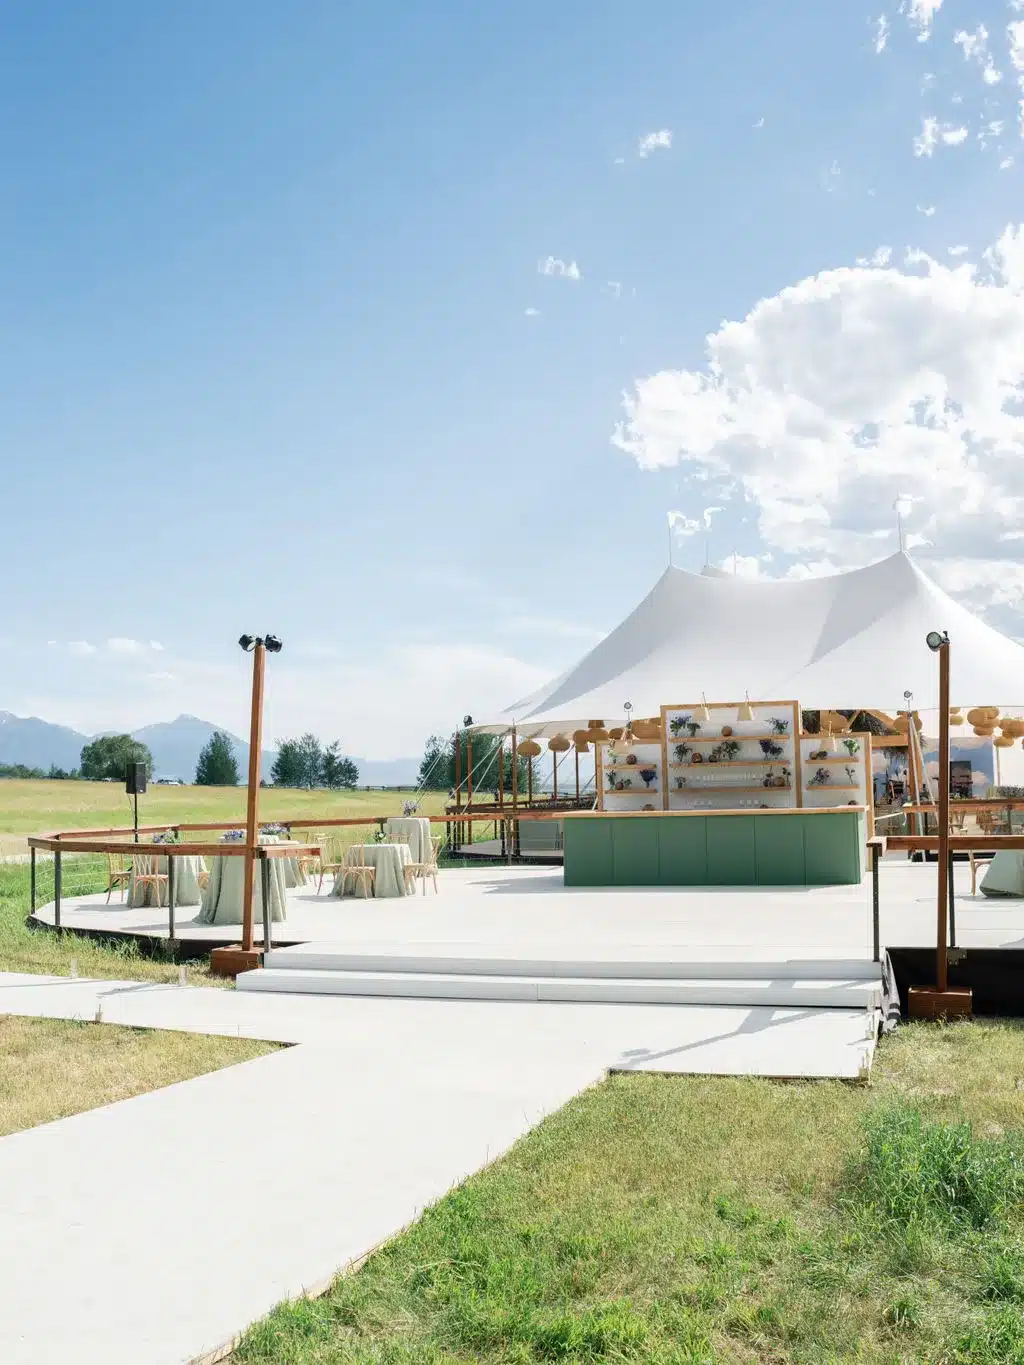
Century pole tents are perfect for events requiring clear interior space and eye-catching aesthetics. Their tall center pole creates height, which adds grandeur to décor and lighting displays. Guests enjoy unbroken views across the venue, which supports open floorplans. Whether it’s seated dinners or cocktail-style layouts, these tents are adaptable. They make a strong visual statement at upscale occasions like galas and fundraisers. Event teams can easily integrate themes, draping, and rentals inside. The result is a polished and versatile venue under canvas.
Compatible With Premium Event Enhancements
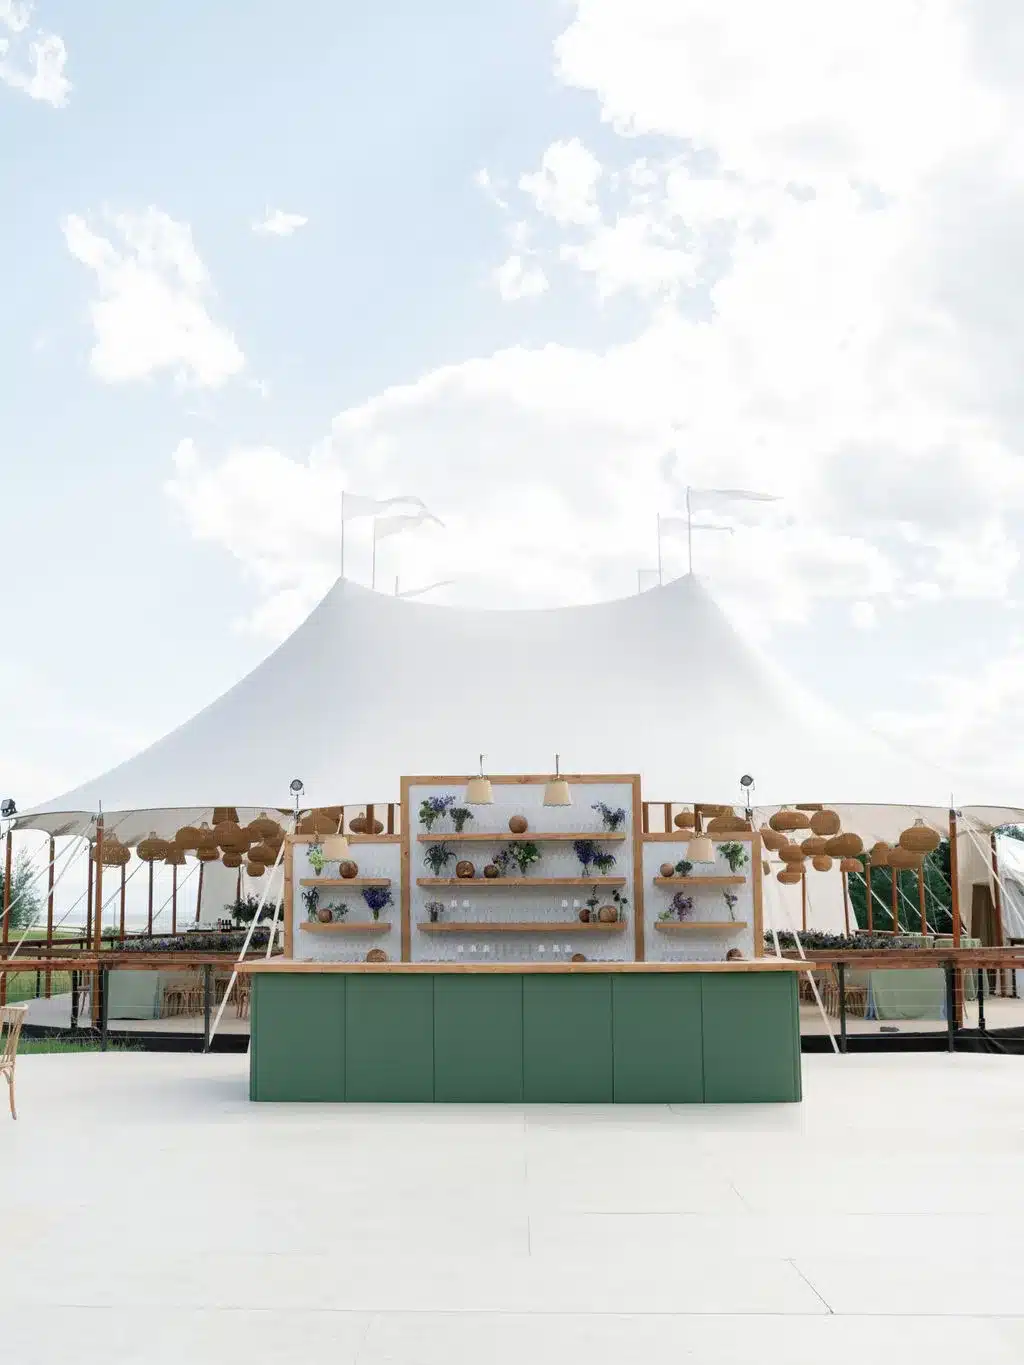
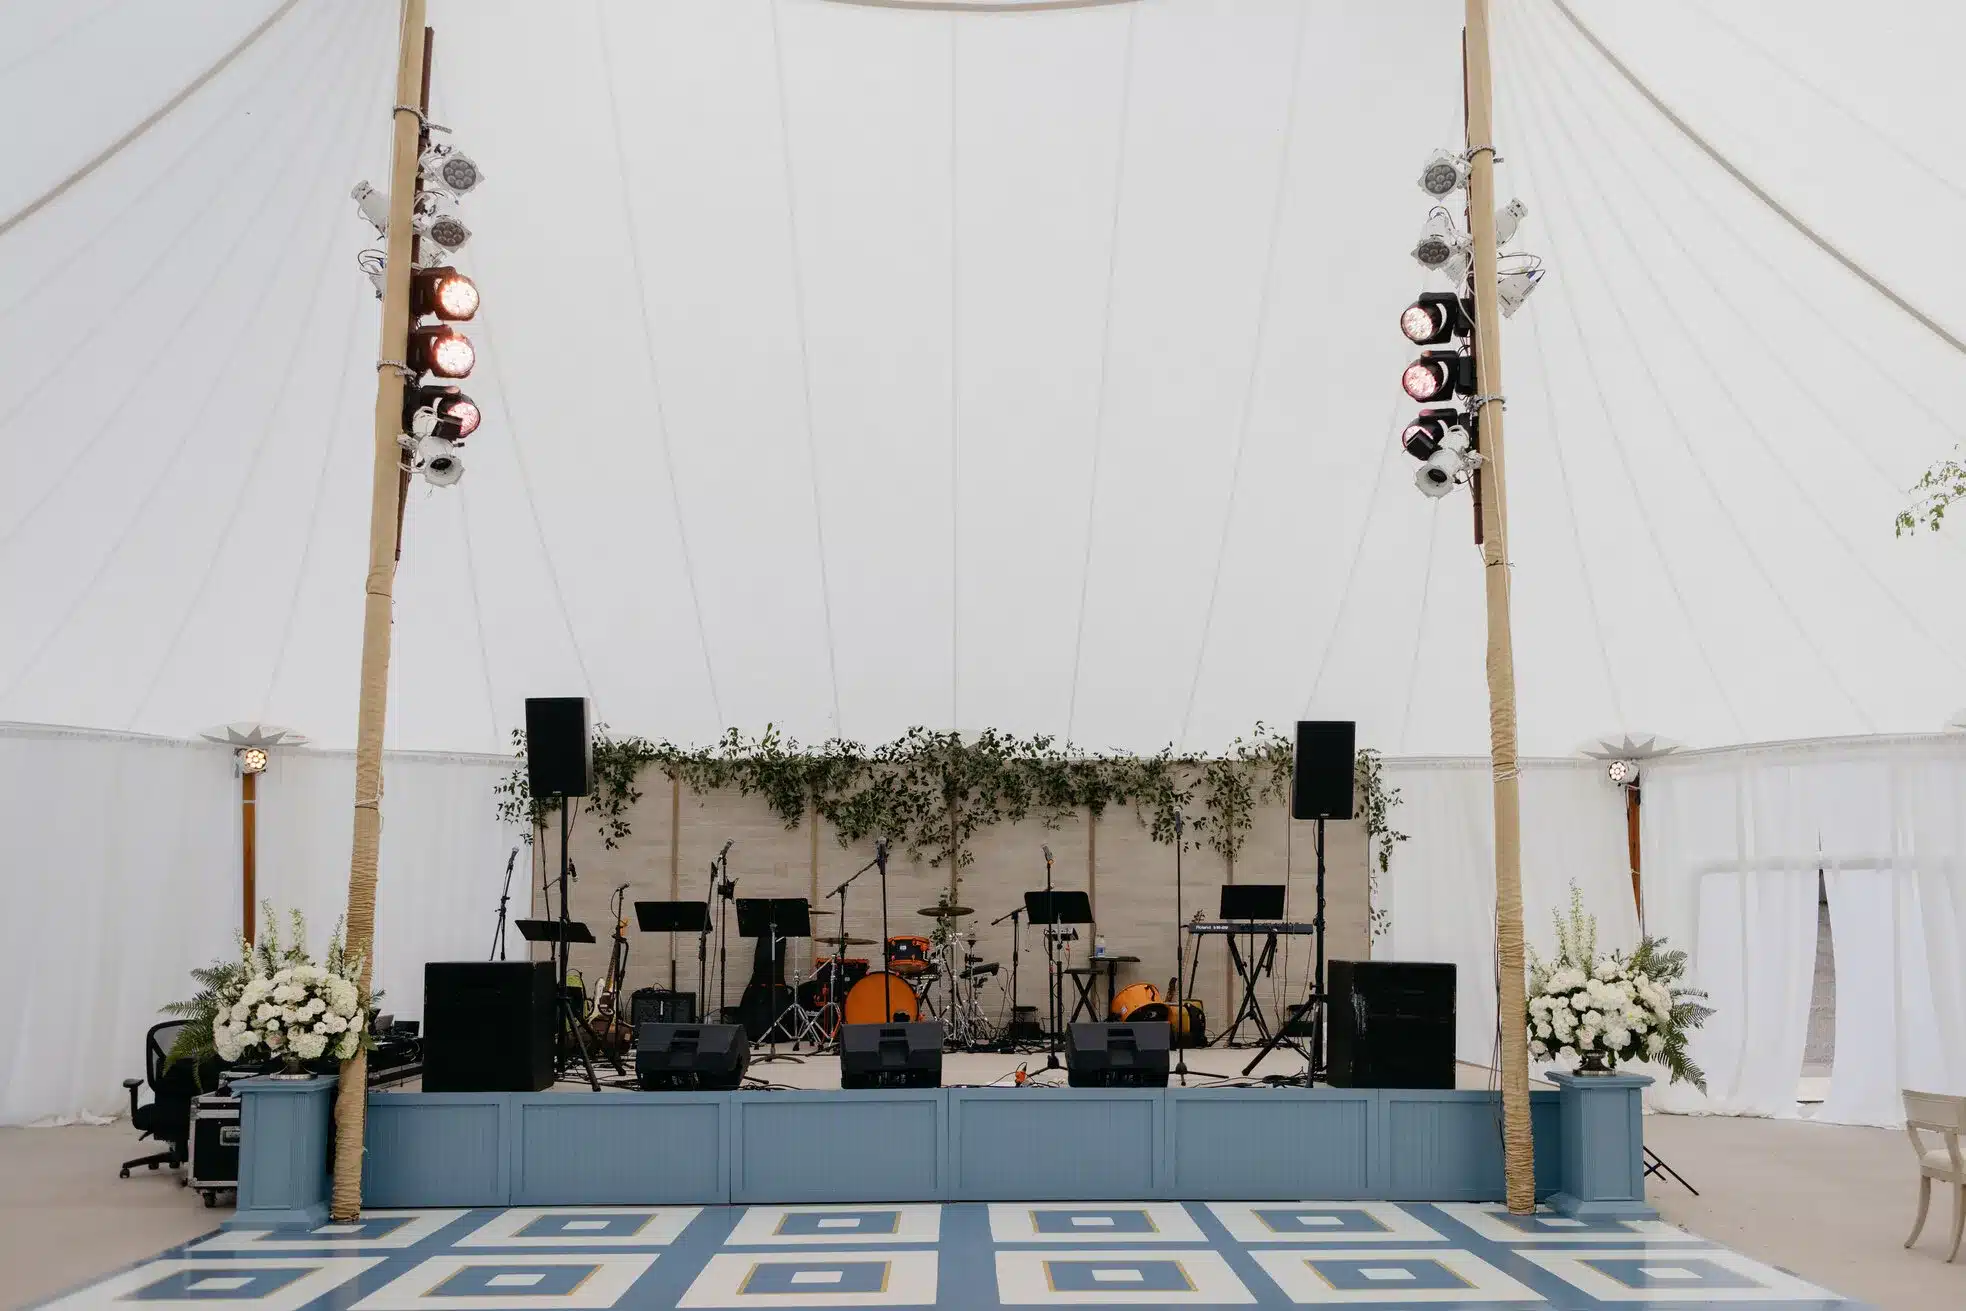
These tents support add-ons like custom flooring, chandeliers, uplighting, and heating or cooling units. Their sturdy framework allows for elegant rigging and safe accessory integration. Flooring enhances guest comfort and safety while improving visuals. Lighting sets the mood and draws attention to design details. Sidewalls can be added or removed depending on weather and privacy needs. For VIP events, design teams often choose ceiling liners or fabric swags. These upgrades elevate the entire atmosphere effortlessly.
Stylish Shelter With Functional Benefits
Aesthetic appeal aside, century pole tents offer practical advantages for unpredictable weather. Their structure is engineered to withstand wind when properly anchored. High-grade vinyl provides sun and rain protection without compromising visual appeal. Because they’re open-air at the perimeter, they allow ventilation on warm days. When needed, sidewalls can help regulate interior climate. Their footprint accommodates various layouts, making it easy to include entryways or lounge areas. All of this makes them a go-to option for upscale events.
What Are the Step-by-Step Instructions for Installing a Century Pole Tent?
Installing a century pole tent involves a systematic process that prioritizes precision, safety, and structural integrity. Each step—from marking the layout to anchoring the last strap—must follow best practices. Setup requires proper coordination, tools, and trained personnel for optimal results. The order of operations matters to avoid imbalance or tension issues. Careful planning leads to faster installation and a more reliable structure.
Mark and Measure the Tent Layout
Start by measuring the full footprint of the tent and marking anchor points, pole positions, and entry paths. Use high-visibility markers to outline the space clearly for the setup crew. Accurate placement is critical to achieve proper fabric tension and pole alignment. Double-check that the layout accounts for accessories like flooring or staging. Any errors in this step can lead to structural issues later. Once confirmed, begin staging materials around the marked zone. Having a mapped plan helps installers follow a consistent setup sequence.
Raise the Center and Side Poles
Position the central pole base and begin carefully lifting the pole with the help of multiple crew members. Maintain balance to prevent tipping as the structure takes form. Secure the pole in place with tension ropes or straps before moving to the side poles. Next, insert and raise the side poles gradually, ensuring even fabric distribution as each one goes up. Teams must check that the canopy fabric remains smooth and aligned. This method ensures even tension and structural consistency across all corners.
Anchor the Tent and Add Enhancements
Drive stakes or ground anchors into the pre-marked positions and attach tension straps or ropes securely. Use equal tension around the entire tent to prevent sagging or fabric stress. Once the main structure is stable, begin adding accessories like flooring, lighting, or sidewalls. Always ensure these items don’t interfere with anchor points or pole connections. Walk through the interior to inspect alignment and spacing one final time. Final adjustments help maintain appearance, safety, and event-readiness.
What Are Common Challenges in Century Pole Tent Installation and How to Overcome Them?
Tent installations can encounter obstacles, but proactive planning helps avoid delays. Common issues include site slope, weather changes, or tight timelines. Identifying problems early lets teams adjust their plan safely. The most reliable installs come from strong coordination, accurate layouts, and skilled response to on-site surprises.
Manage Sloped or Uneven Terrain
Sloped sites require leveling blocks, risers, or modified pole setups to achieve a flat interior. Installers may need to dig, shim, or reinforce anchors depending on soil conditions. To plan effectively, survey the area well before the event. Bring extra tools and materials for adaptability. Avoid placing the center pole on high or soft ground. With the right techniques, even hilly landscapes can support a safe install.
Prepare for Unpredictable Weather
Rain, wind, and heat can all delay or complicate setup. Monitor weather closely leading up to the event, and plan backup anchor systems or sidewalls. Have tarps or covers ready to protect fabric during sudden storms. Anchoring systems should meet high-wind load requirements for your region. Communicate regularly with crews about timeline changes. Preparedness ensures safety and protects guest comfort.
Coordinate Across Teams and Vendors
When multiple vendors are sharing space—like flooring, lighting, or AV—timing is critical. Establish a setup schedule that gives each team space to work safely. Appoint a point person to handle questions or conflicts in real time. Layout diagrams and walk-throughs help teams understand boundaries. Be ready with contingency plans if one phase runs behind. Strong coordination results in smoother installations and better outcomes for everyone.
What Are the Best Practices for Tent Maintenance and Takedown?
Post-event care is essential for protecting tent components and ensuring future performance. After dismantling, each item should be inspected, cleaned, and stored properly. This extends the lifespan of both the fabric and structural pieces. Takedown procedures must follow a sequence that preserves safety and avoids unnecessary wear. Maintenance is more than cleaning—it’s a system for long-term reliability.
Perform a Full Visual Inspection
Before taking anything down, inspect the fabric, seams, poles, and anchors for signs of damage. Look for punctures, abrasions, or rust that may have formed during the event. Check tension straps and rope ends for fraying. Identifying issues early helps prevent bigger problems later. Keep a checklist to document what was found and what needs repair. This step ensures small defects don’t compromise future installs.
Follow a Safe Disassembly Process
Begin takedown by loosening all anchor points and releasing fabric tension gradually. Lower the center pole slowly with support from multiple crew members. Each side pole should be removed in sequence while maintaining balanced support. Tent fabric must be folded carefully to prevent stress tears. Avoid dragging fabric on rough surfaces to protect its coating. Label parts for easy identification during future setups.
Clean, Dry, and Store Correctly
Use manufacturer-recommended cleaning products for removing dirt or stains from vinyl. Dry all fabric thoroughly before folding to prevent mildew growth. Store poles and metal pieces in a dry, cool place away from direct sunlight. Lightly oil mechanical connections or metal components to resist rust. Use labeled bags or bins for organizing small hardware. Good storage protects your investment and speeds up the next install.
Frequently Asked Questions
What exactly are Century Pole Tents?
Century Pole Tents feature tall center poles, open interiors, and sweeping peaks—ideal for upscale events. Their design allows for clear layouts, custom add-ons, and elegant aesthetics.
How long does it take to install a Century Pole Tent?
Installation usually takes several hours to a full day, depending on size and site conditions. Skyline Tent Company’s experienced crews streamline the process with detailed planning!
What safety equipment is required during installation?
Some installers use PPE including hard hats, gloves, boots, and vests. Skyline Tent Company crews also use proper tools and fall protection gear for secure and safe setups.
How can uneven terrain be managed during installation?
Uneven ground is addressed using levelers, risers, or additional anchoring systems. Site prep and layout adjustments help ensure a safe, stable structure.
What maintenance practices are recommended after an event?
Inspect all components, clean fabric, and dry before storage to prevent damage or mold. Regular upkeep helps extend the lifespan of the tent for future use.
Comclusion
Century Pole Tents offer a polished solution for those seeking elegant tent rentals that perform as beautifully as they look. Their strong structure supports high-end tent accessories while remaining adaptable to any outdoor event tent layout. Success depends on thoughtful planning—from detailed site preparation to secure anchoring and smooth take down. Professional crews like those at Skyline Tent Company ensure every Century Pole Tent rental is installed safely, maintained properly, and removed efficiently. Whether you’re focused on visual impact or long-term reliability, these tents deliver on both fronts. For events that demand standout style, expert service, and long-lasting tent stability, Century Pole Tents remain a premium choice.